1A: Onshape Fundamentals - Section 1
Exercise 1: Making Your First Tube
In this exercise you'll be:
- Following along with the video to learn how we can make box tubes in onshape
- Playing with the tools you learned to explore how the concepts work
- Understanding how these parts interact in 3D Space
Video Tutorial
Inside of the document you copied and navigated through previously, follow along with this video to create your box tubes and finish the exercise. The extrude tool will be introduced through this.
As you work through the exercise, notice how:
- Changing the extruded length affects the box tube.
- The dimensions of the sketch translate directly into the dimensions of the tube.
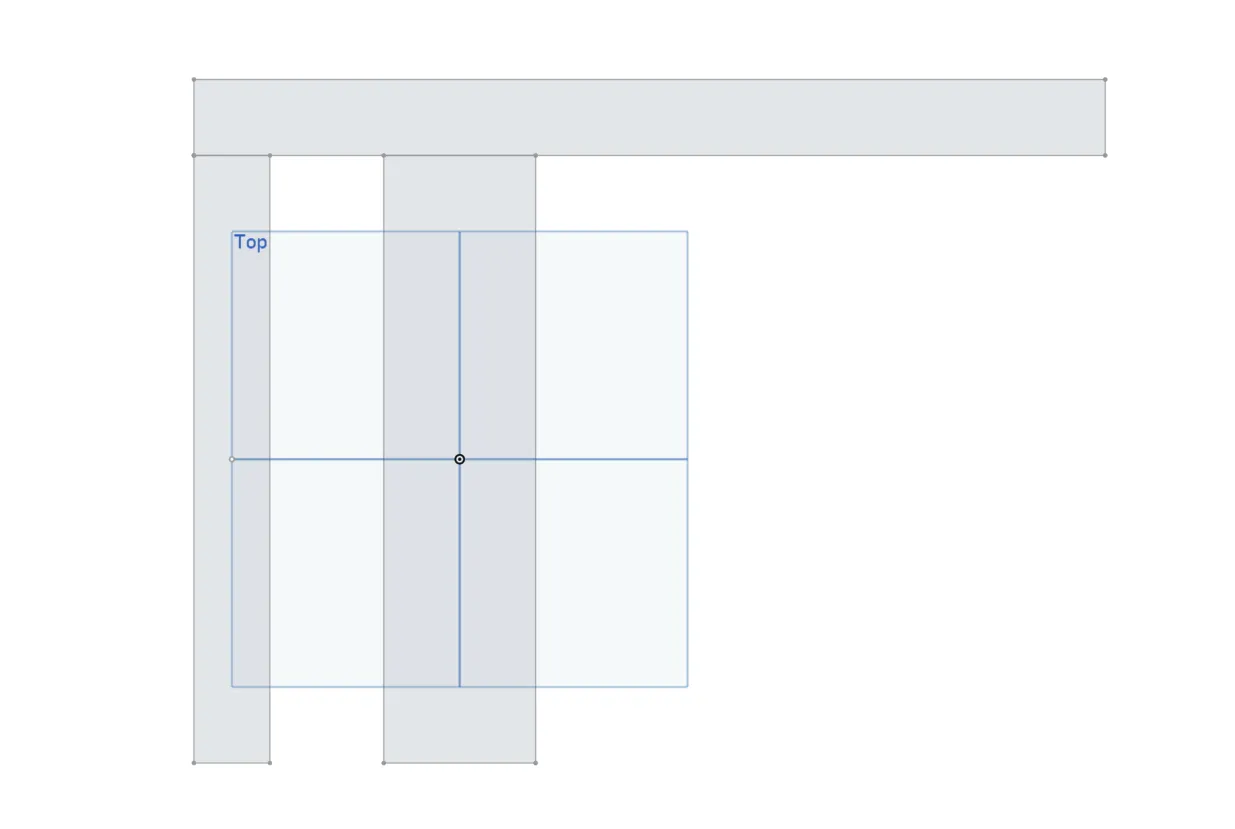
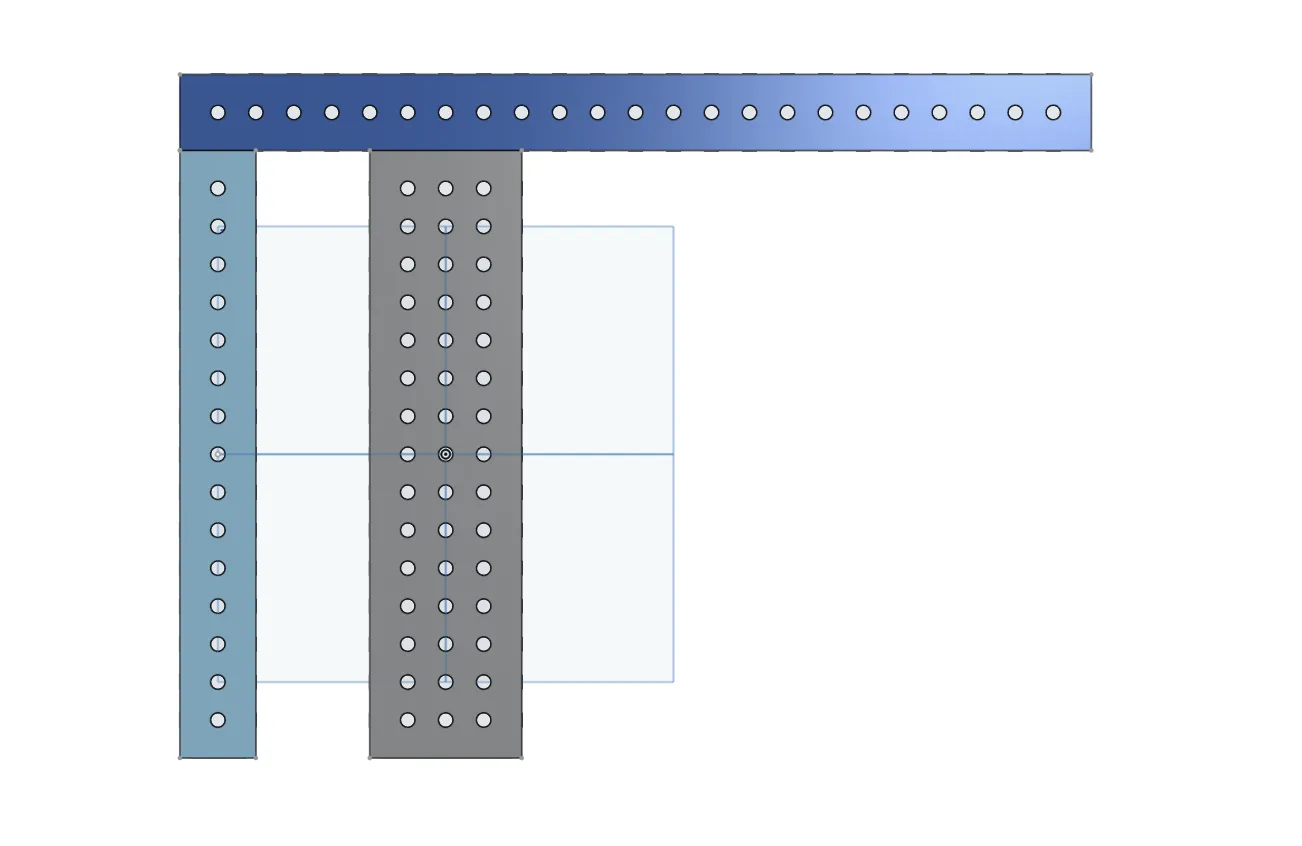
Reference Images
Extrude Tool Info
Boolean Options
Every extrude has options for new, add, remove, and intersect that define how your extrude interacts with other parts in the part studio. If you extrude a tube next to another tube, you might notice that they merge together. Make sure to select the new option in your extrude menu, as sometimes Onshape will default to add.
Endpoint Options
You can define the end of the extrude depending on an arbitrary length or by using other parts as reference. Up to face is pretty commonly used alongside Blind.
Tube Converter Settings
When using the Tube Converter (as shown in the video), make sure your settings match:
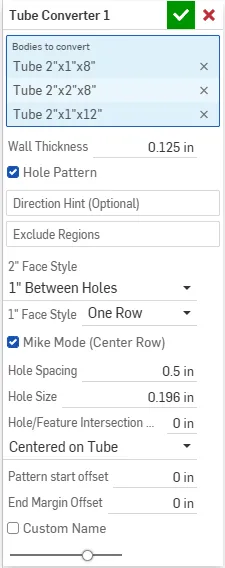
If the Tube Converter isn't behaving as expected:
- Only select the rectangles that are not touching, as shown in the video.
- You can remove a selection by clicking the
xnext to the part in the Tube Converter menu.
If you forget the name of a tool, you can press Alt+C to search for it.
Done following along?
Mess around with the tubes a bit more, try extruding different lengths, using different extrude offsets and settings, and play to see how they relate to your final box tube.
After 5 minutes or so, move on to the next exercise.